
Finger Drumming Practice: 5 Musical Exercises
Aug 23, 2026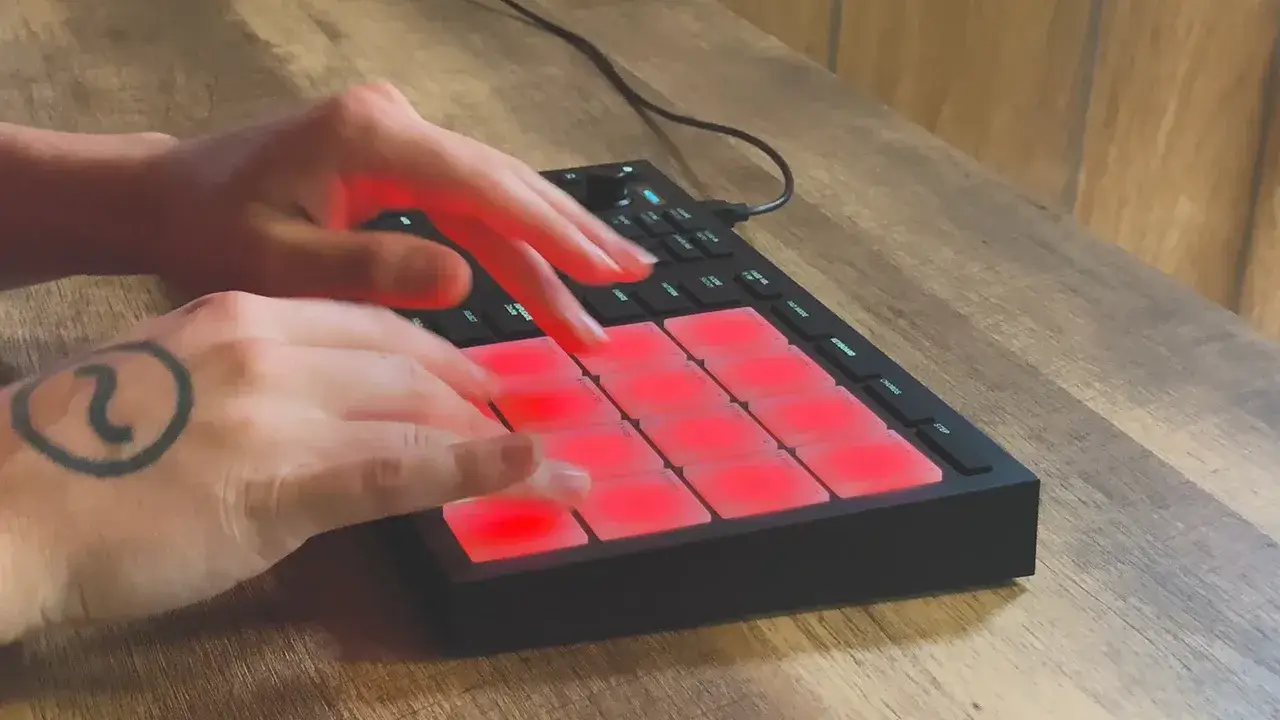
The best finger drumming exercises do more than teach you one pattern. They help you understand timing, independence, dynamics, movement, and musical phrasing so you can use those skills in any groove you want to play.
I do not think “practicing a technique” should mean repeating my exact beat until you can copy it perfectly. A pattern can introduce an idea, but the idea is what matters. Once you understand it, you should change the notes, move it around the kit, and make it part of your own playing.
The five exercises below are built around that approach. Each one gives you a simple musical rule rather than a long sequence to memorize.
How to use these exercises
Choose a slow, comfortable tempo and use a metronome. Sixty to eighty BPM is a good starting range, but the right tempo is whatever lets you play cleanly without tension.
For each exercise:
- Understand the basic principle.
- Play the simplest version until it feels stable.
- Change one musical choice while preserving the principle.
- Use it inside a groove instead of practicing it in isolation forever.
That last step is important. Technique only becomes useful when it helps you play music.
Exercise 1: Keep a pulse while the other hand explores
Principle: One hand maintains time while the other hand makes independent musical choices.
Play steady eighth notes on the closed hi-hat with your dominant hand:
1 and 2 and 3 and 4 and
With your other hand, begin by alternating kick and snare on the numbered beats. Once that feels comfortable, stop following one fixed sequence. Choose your own kick and snare placements while keeping the hi-hat exactly the same.
You might play a simple backbeat for one measure, leave more space in the next, and add a syncopated kick in the third. The exercise is successful if the pulse stays steady while the other hand changes—not if your beat matches mine.
Try these variations:
- Change only the kick while keeping the snare on beats 2 and 4.
- Leave out one hi-hat without losing the underlying time.
- Move the pulse from closed hi-hat to ride.
- Play the pulse quietly and the kick and snare more strongly.
This develops hand independence and teaches you to hear each part of the groove as a separate musical role.
Exercise 2: Create a conversation between two fingers
Principle: Two fingers on the same hand can control separate voices without copying each other.
Place the middle finger of your non-dominant hand on the kick and the index finger on the snare. Begin with a simple alternation: kick, snare, kick, snare.
Then turn the alternation into a conversation. Play a short idea with one finger and answer it with the other. Sometimes repeat the same idea. Sometimes leave a rest. Sometimes let one sound interrupt the other.
Keep the phrases short enough that you can feel where beat 1 is. You can count quarter notes out loud or maintain a quiet hi-hat with the other hand.
The purpose is not to create one “correct” kick-and-snare pattern. It is to stop the two fingers from behaving like one unit.
Once kick and snare feel comfortable, use the same principle with:
- Closed and open hi-hat
- Snare and a quiet ghost-note articulation
- Two neighboring toms
- Ride and ride bell
Changing the sounds helps you understand that finger independence is a general skill, not a single exercise.
Exercise 3: Shape a groove with dynamics
Principle: The volume of each note is part of the rhythm.
Choose any groove you can already play comfortably. It can be extremely simple. First, play the whole groove quietly. Then play it at a normal level. Then play it strongly.
After that, stop changing the entire groove at once. Give the parts different jobs:
- Keep the hi-hat soft and even.
- Make the main snare backbeats clear and confident.
- Play extra snare notes as quiet ghost notes.
- Let selected kick notes create accents without making every kick equally loud.
Now improvise small velocity changes while keeping the written rhythm unchanged. Notice how the same notes can feel relaxed, aggressive, heavy, or light depending on how you shape them.
Avoid fixed velocity for this exercise. Your controller needs to respond naturally from soft taps to strong accents.
This is one of the fastest ways to make finger drumming sound less programmed. A very simple beat with controlled dynamics can sound more musical than a complicated beat played at one volume.
Exercise 4: Move a sticking idea around the kit
Principle: A rudiment is a way of moving your hands and fingers, not a drum fill you must copy note for note.
Start with one basic sticking idea. You can use alternating single strokes:
Right, left, right, left
Or use double strokes:
Right, right, left, left
Play the sticking on one pad until the notes are even. Then move it across the snare and toms however you want.
You do not have to move to a different drum on every hit. Repeat a tom, jump backward, return to the snare, or leave a space. Keep the sticking principle but change the orchestration.
Next, use the same movement inside a short fill. Play a groove for three measures, improvise a fill for one measure, and return to the groove.
The rudiment gives your hands an organized way to move. Your ears decide which drums to use and what the phrase should sound like.
Exercise 5: Leave the groove and find beat 1 again
Principle: A variation or fill should create movement without losing the musical form.
Play a comfortable groove for one measure. During the next measure, change something freely. You can:
- Move the hi-hat rhythm to the ride.
- Create a snare and tom fill.
- Leave a large space.
- Use a double-stroke idea.
- Change the kick pattern while keeping the backbeat.
Whatever you choose, return to the original groove exactly on the next beat 1.
At first, keep the variation simple and count out loud. The goal is not to squeeze as many notes as possible into the measure. The goal is to feel where you are and return naturally.
When one-measure variations become comfortable, try half-measure fills, two-beat fills, or a change that lasts several measures. You are practicing musical direction: leaving home, creating a little tension, and finding your way back.
A 20-minute finger drumming practice routine
Spend four minutes on each exercise:
- Four minutes: Pulse and exploration. Keep one steady cymbal pulse while creating your own kick and snare variations.
- Four minutes: Two-finger conversation. Separate two sounds between two fingers and improvise short phrases.
- Four minutes: Musical dynamics. Shape one familiar groove with ghost notes, normal strokes, and accents.
- Four minutes: Moving a sticking idea. Orchestrate singles or doubles around the kit and use them inside a fill.
- Four minutes: Leave and return. Alternate a groove with free variations while landing securely on beat 1.
Do not rush through all five if one exercise reveals a weakness. You can spend the entire session on one principle and still have a productive day.
How to make practice feel like music
Use drum sounds you enjoy. Play along with a bass line, loop, or song at a comfortable tempo. Record yourself. Most importantly, allow yourself to make choices.
If every practice session is only about reproducing someone else's pattern, you may become good at copying without becoming comfortable playing. The transition from exercise to music happens when you understand what the exercise is teaching and begin using that principle in your own way.
A good question to ask is:
“Can I keep the idea and change the notes?”
If the answer is yes, you are learning a technique. If the answer is no, you may only be memorizing a pattern.
Frequently asked questions
Should I practice the same finger drumming pattern every day?
Repeat a pattern long enough to understand and control it, then create variations. The long-term goal is to transfer the underlying skill into many different grooves.
Do I need a metronome?
A metronome gives you an honest reference for timing. Use it regularly, but also play with music and record yourself so you develop feel rather than merely following a click.
Should finger drumming exercises feel difficult?
A useful exercise should challenge one specific area without making everything collapse. If you become tense or lose the pulse, simplify the idea or slow down.
How do I improve finger independence?
Give separate fingers separate musical jobs, begin with short phrases, and add only one layer at a time. Then move the same principle to different sounds so it becomes a general skill.
How quickly should I increase the tempo?
Increase the tempo only when you can play cleanly, stay relaxed, control your dynamics, and recover from small mistakes without losing the beat. Speed should follow control.
Dragon Finger Drums is retiring, and public enrollment ends permanently on October 1st. If you want a complete step-by-step system for developing independence, dynamics, grooves, rudiments, fills, and musical freedom, you can get lifetime access to my complete 35-hour lesson library for $100 here.